vSphere 5 Certificates: 2 – Distributing the Root CA certificate to clients
This is part 2 of a 7 part post on managing vSphere 5 Certificates:
- Installing a Root Certificate Authority
- Distributing the root CA certificate to clients
- Creating the default vCenter 5 Server Certificate and including a DNS alias
- Replacing the default vCenter 5 Server Certificate
- Replacing the default vCenter 5 Web Client Server Certificate
- Replacing the default vCenter 5 Inventory Service Certificate
- Replacing the default vSphere Update Manager 5 Server Certificate
The posts will
Once you have installed the Root Certificate Authority (CA) you may need to distribute the root certificate to clients. The root CA certificate needs to be in the Trusted Root Certification Authorities certificate store on all clients who need to access vCenter for the certificate trust chain to work. If you are not using your own root CA and have used a commercial root CA this certificate is most likely already in your certificate store.
If the root CA is installed using Active Directory Certificate Services on a server that has access to the Active Directory directory service, the root authority’s certificate will automatically be placed in all users’ Trusted Root Certification Authorities certificate store. This means the distribution of the root CA is taken care of by AD and there’s nothing more you need to do.
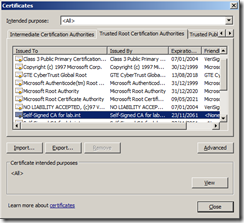
As I have installed Active Directory Certificate Service on a domain controller with Domain Admin credentials this distribution has taken place. You can check this by going to any server or workstation within the trusted domain forest and after doing a reboot just to ensure the certificate has had time to be copied down check the Trusted Root Certification Authorities list and see if there are certificates in the list for your own CA. In my example you can see that there are two Self-Signed for lab.int certificates in the list so the deployment has been successful.
Distributing the root CA certificate
If you don’t have the rights to your AD or have obtained your root certificate from another CA that is not connected to your AD you will need to distribute the certificate in another way.
You can use Group Policy to push out this certificate.
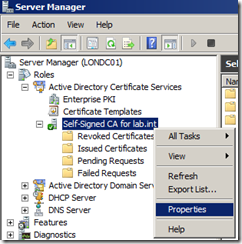
You need a copy of the root CA certificate you have created from wherever it has been generated. If you have created the root CA using Active Directory Certificate Services but it doesn’t have the AD credentials to distribute the certificate itself, launch Server Manager and navigate to Roles | Active Directory Certificate Services and select the root CA certificate you have created, in my example, Self-Signed CA for lab.int.
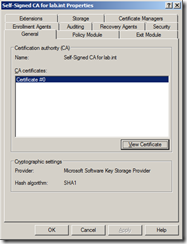
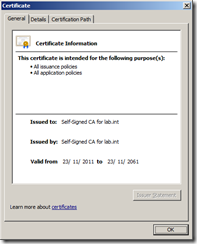
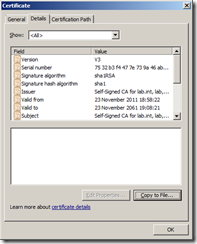
Right click and select Properties and then click on View Certificate which will show you the certificate details.Click the Details Tab and click Copy to File.
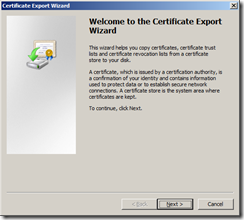
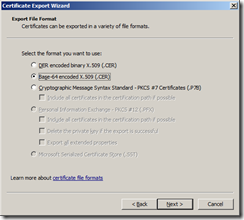
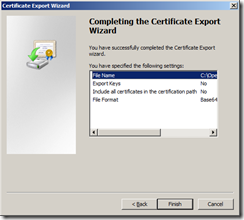
Start the Certificate Export Wizard and select Base-64 encoded X.509 (.CER)
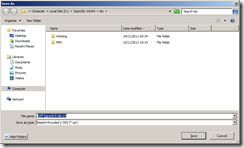
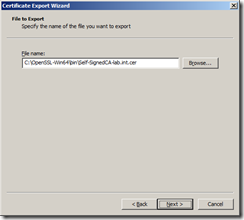
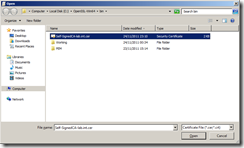
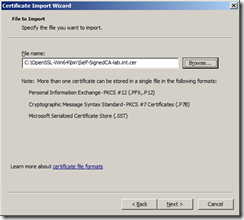
Name and export the certificate file in a secure location, I’ve exported the file as Self-SignedCA-lab.int.cer
You then need to add this certificate to a Group Policy for distribution.
Launch Start | All Programs | Administrative Tools | Group Policy Management
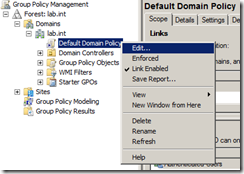
Navigate to Group Policy Management | Forest: <your domain> | Default Domain Policy, right click and select Edit which will launch the Group Policy Management Editor.
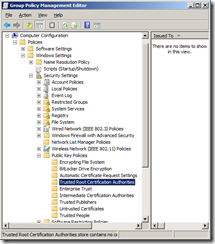
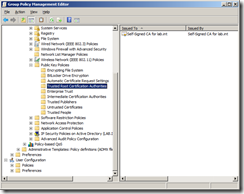
Navigate to Computer Configuration | Policies | Windows Settings | Security Settings | Public Key Policies | Trusted Root Certification Authorities
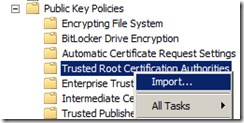
Right click and select Import.
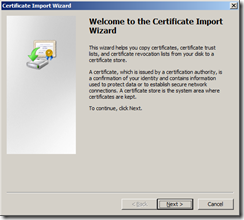
Start the Certificate Import Wizard.
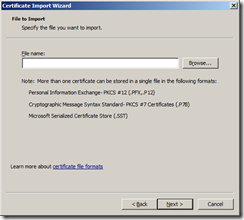
Browse to the root CA file you exported earlier.
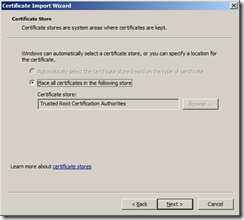
Select Place all certificates in the following store and ensure Trusted Root Certification Authorities is selected
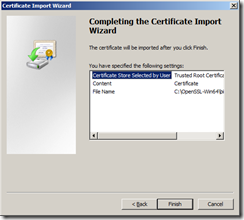
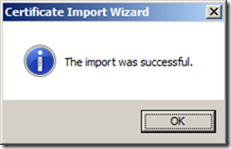
Complete the wizard.
You should now see the certificate in the group policy.
You can then update the group policy immediately on a client by running gpupdate from a command prompt or waiting for the policy to be applied automatically.
Once the policy has been successfully applied you should see your root CA certificate in the Trusted Root Certification Authorities list.
Now you have your root CA certificate distributed to all clients.
Part 3 will show you how to create the default vCenter 5 server certificate and include a DNS alias.



Recent Comments